Buying Guide
Automotive seller compatibility photo guide
By Cusket Editorial · Published · Updated
A seller guide for using automotive compatibility photos to reduce fitment confusion and improve buyer confidence.
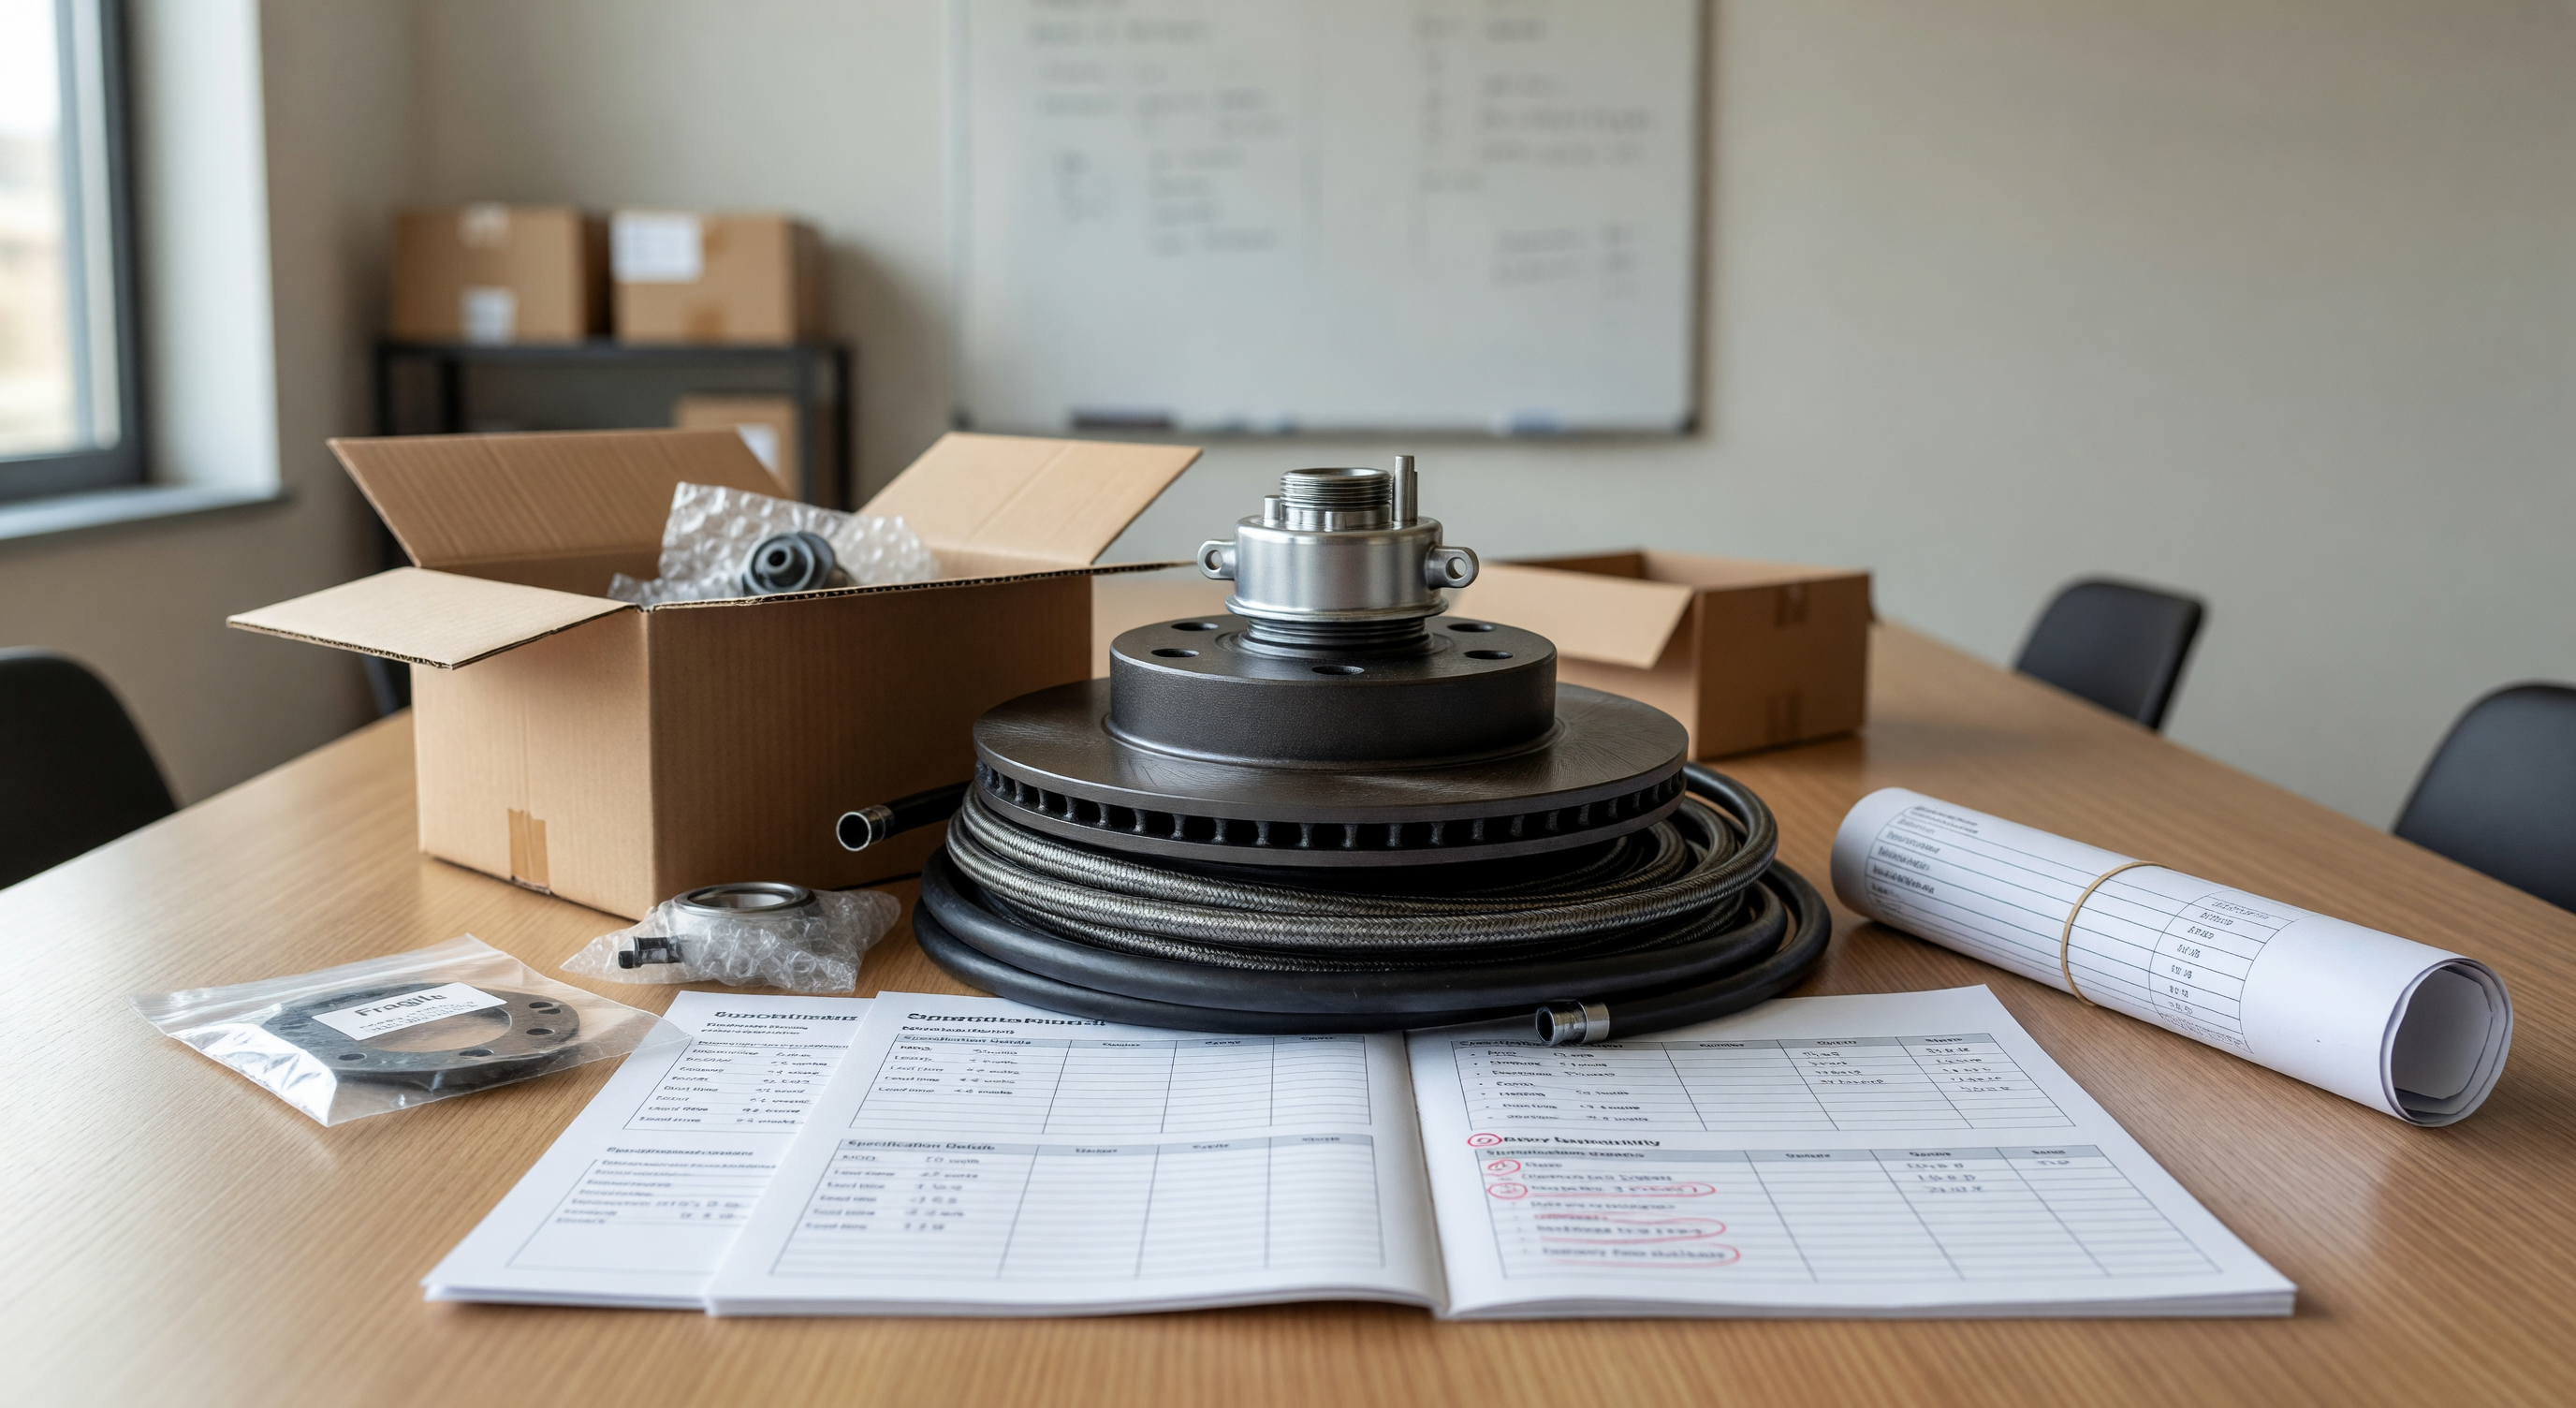
Automotive buyers care about fitment before they care about almost anything else. A part that looks right but does not match the vehicle, model year, mounting point, connector, or trim creates cost for both sides. Your Cusket listing should make compatibility visible in words and photos so buyers can qualify the part quickly.
Treat compatibility as the main product feature
For automotive sellers, compatibility is not a footnote. It is part of the product. A buyer comparing parts on Cusket products may scan the title, first image, and spec table before opening a conversation. If compatibility is buried below marketing copy, the listing can lose serious buyers who need fast confirmation.
Begin with the exact part type, supported vehicle range, model years, engine or trim constraints where relevant, and whether the part replaces an OE reference. If your product is aftermarket, say so plainly. If it is compatible with several references, list them in a structured table rather than a dense paragraph. Do not imply official approval unless you can support that statement.
Photograph the fitment evidence
Compatibility photos should show more than a polished product angle. Include mounting holes, clips, connector pins, thread type, gasket surface, bracket shape, label area, and any side-specific details. For lighting, sensors, switches, hoses, filters, and interior trim, buyers often need close-up photos to compare against the removed part.
A practical photo set might include front view, back view, side profile, connector close-up, mounting close-up, scale reference, and packaging label. Upload the set in your seller product editor in a logical order. Buyers arriving from Cusket search may not read every paragraph, so the image sequence must carry fitment information by itself.
Use a compatibility photo checklist
| Photo or field | What to show | Why buyers care |
|---|---|---|
| OE reference area | Label, engraving, or comparison table | Helps match existing part numbers |
| Mounting points | Holes, brackets, tabs, clips | Confirms physical installation |
| Connector | Pin count, shape, locking tab | Prevents electrical mismatch |
| Orientation | Left, right, front, rear, upper, lower | Avoids side confusion |
| Scale | Ruler, known reference, or dimension table | Helps estimate fit |
| Packaging | Label and quantity per pack | Supports warehouse receiving |
Use this checklist before publishing every compatibility-sensitive listing. It is especially important when the part is visually similar across multiple model years.
Separate confirmed and buyer-verified applications
Some sellers have verified fitment through production history, customer orders, or direct sample testing. Others provide dimensions and ask the buyer to confirm against their target vehicle. Both approaches can be valid, but they should not be mixed. Use wording such as confirmed for listed references only when your records support that confidence. Use buyer should verify against dimensions and connector photos when the buyer must make the final match.
This is not about legal positioning; it is about trust. Buyers browsing Cusket categories want to know whether your listing is ready for purchasing or still needs a technical check. Clear separation reduces back-and-forth and helps serious buyers send better questions.
Connect photos to the spec table
A photo becomes more useful when the listing text names what it shows. If image three shows a six-pin connector, the spec table should also say six-pin connector. If the mounting hole distance is important, include the measurement and point to the image where the buyer can see it. Avoid making the buyer infer critical details from photos alone.
For replacement parts, a simple matrix can help: part number, compatible vehicle, year range, position, connector type, material, and package quantity. The table does not need to be complicated, but it should match the visual evidence. If you promote the listing through Cusket ads, this consistency matters because paid traffic will leave quickly when fitment is unclear.
Maintain compatibility after feedback
Compatibility information improves over time. When a buyer reports that a part fits or does not fit a specific application, review whether the public listing should change. Do not add every one-off buyer claim without checking it. Keep internal notes and update the listing only when the information is useful for future buyers.
If there is uncertainty, tell buyers exactly what you need: OE number, vehicle year, trim, photos of the removed part, connector image, and key measurements. You can also direct them to Cusket support for platform questions. Strong compatibility photos make your automotive listing more searchable, more credible, and easier to approve.
A final automotive listing review should compare the title, compatibility table, photos, and package label against each other. If the title says one side or year range and the photo suggests another, fix the mismatch before promotion. Also keep an internal note of which buyer questions repeat. Repeated questions usually reveal a missing photo angle, missing reference number, or unclear position description. Updating the public listing from those patterns improves future inquiry quality and shows buyers that the seller manages fitment information actively.
For vehicle families with frequent mid-year changes, add a short caution that buyers should compare photos and reference numbers, not title keywords alone.