Buying Guide
Packaging seller dieline and proof guide
By Cusket Editorial · Published · Updated
A seller guide for presenting dielines, proofs, artwork checks, and approval steps for packaging buyers.
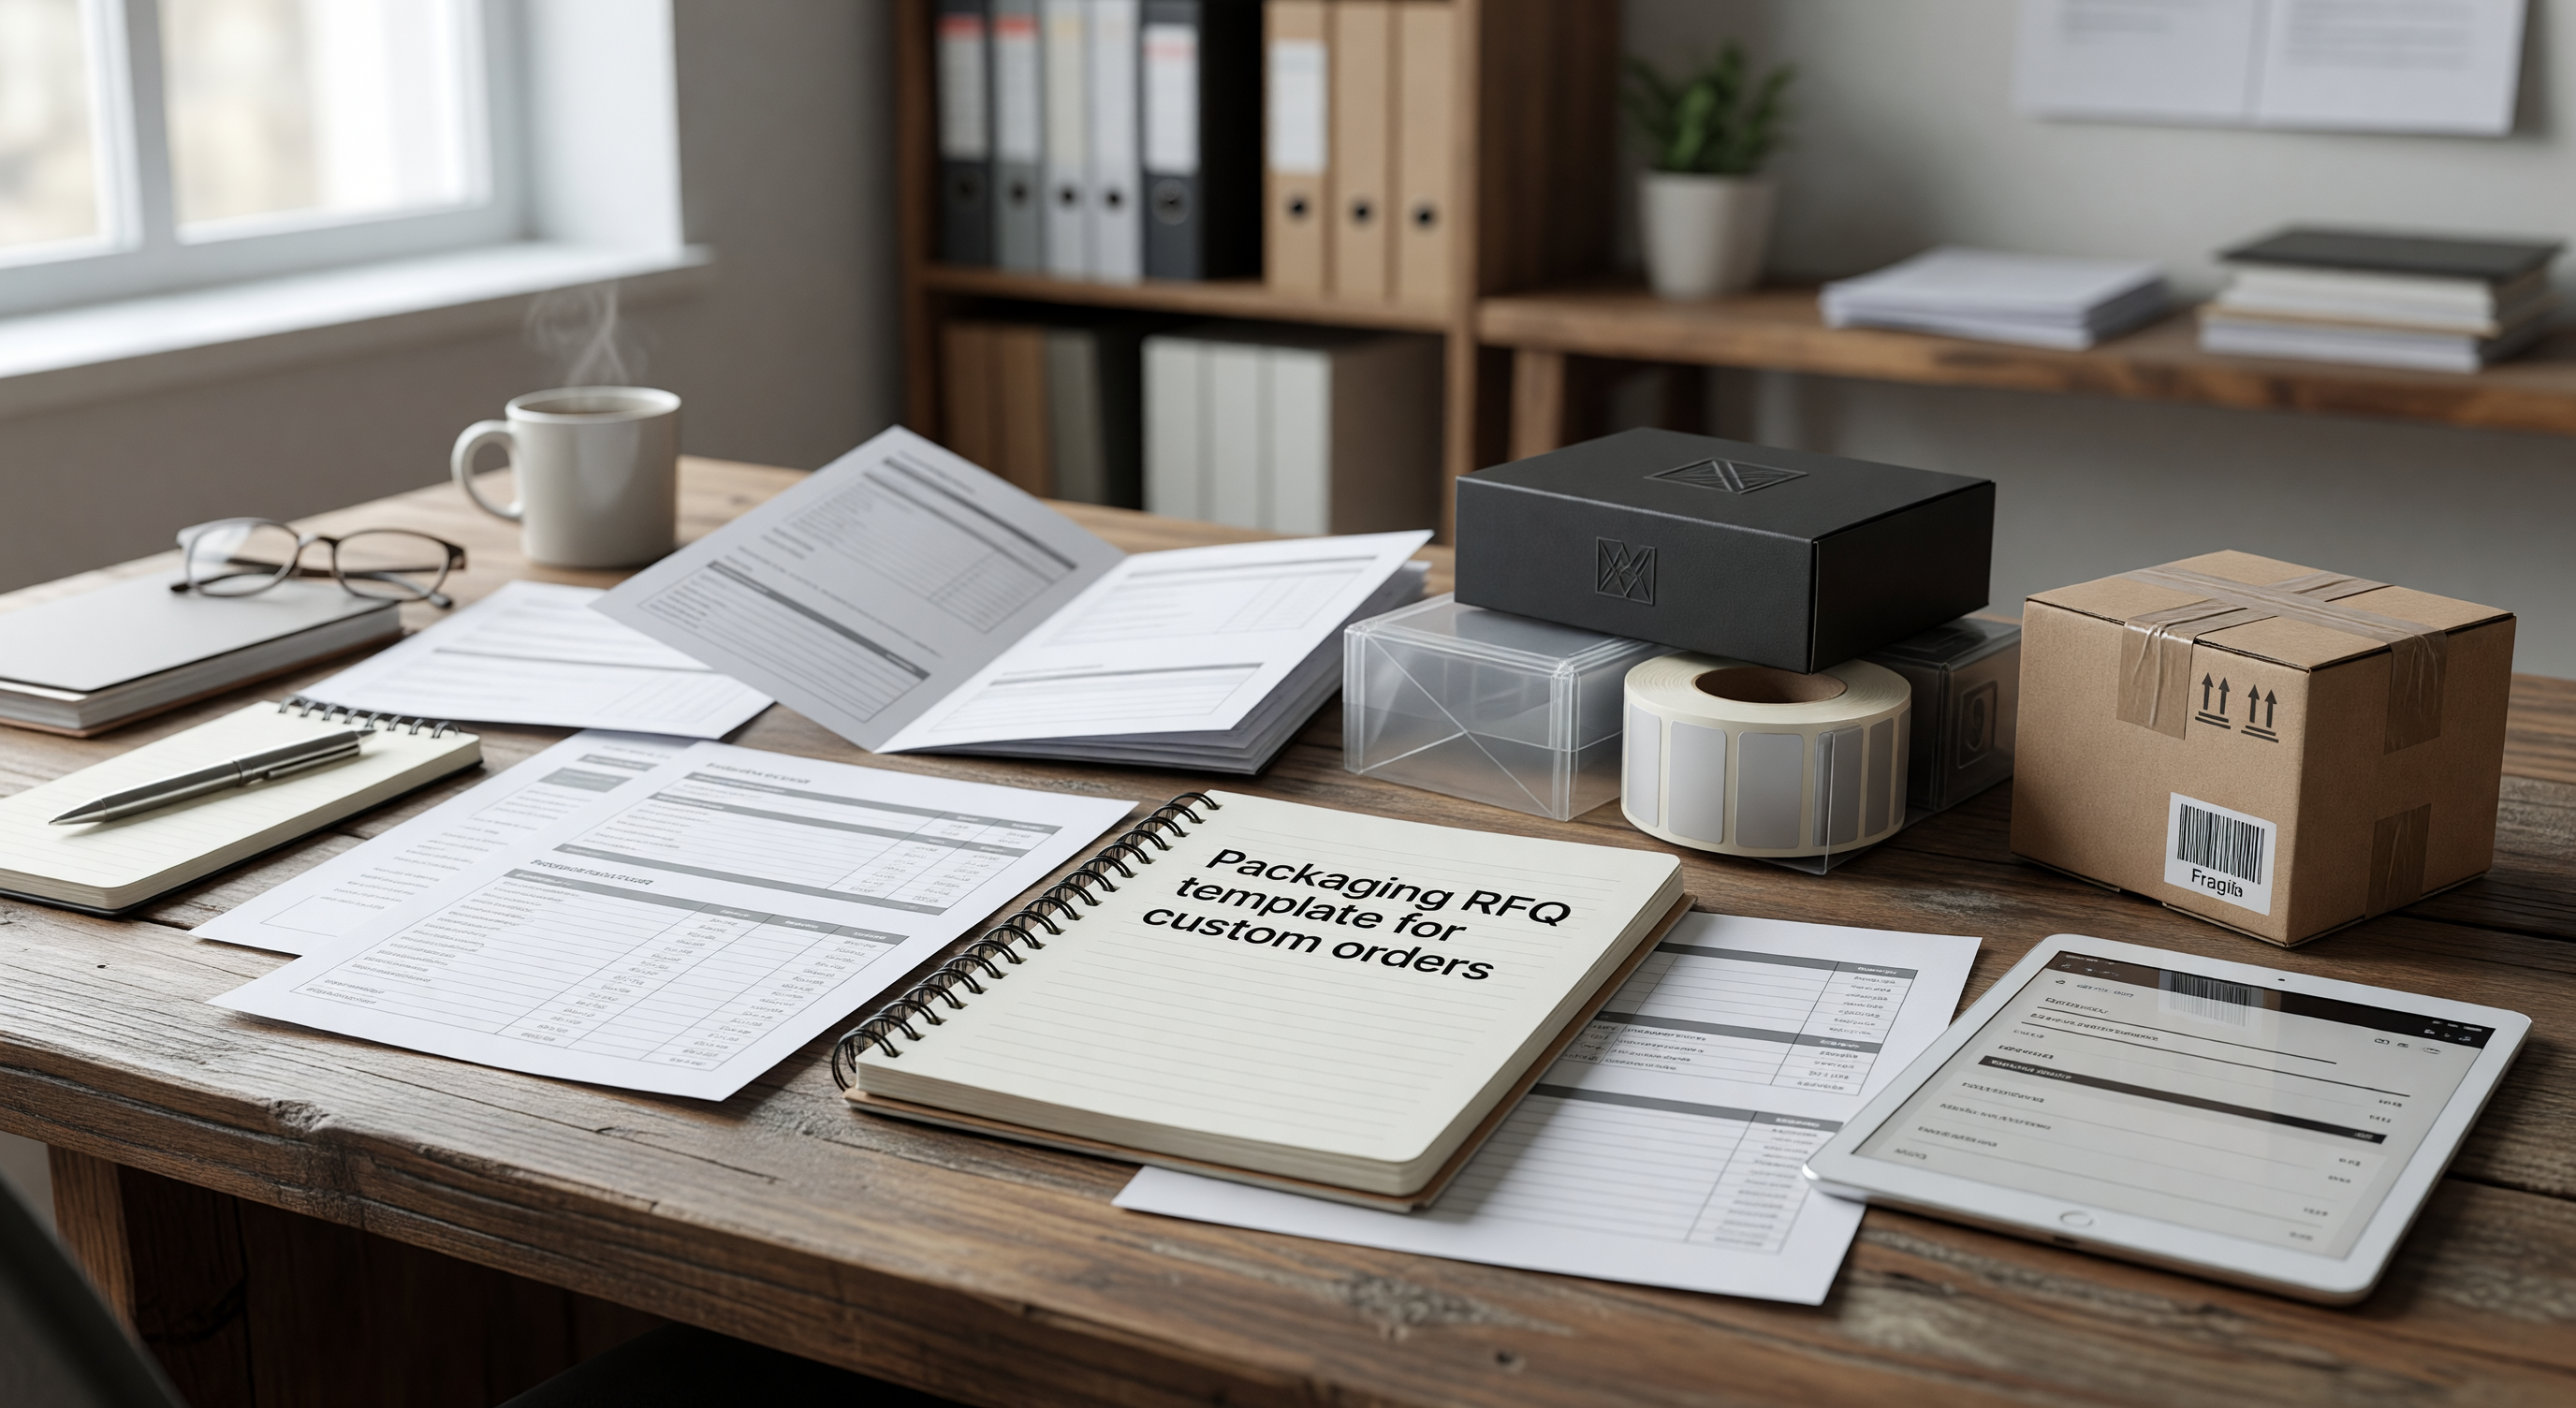
Packaging buyers are often buying a repeatable production process, not only a box, pouch, tube, label, or insert. If your listing makes dielines and proofs easy to understand, buyers can move from concept to approval with fewer delays. On Cusket, packaging sellers should make artwork readiness, structure, material, and proof expectations visible before the buyer requests a quote or sample.
Explain what the dieline controls
A dieline is the map of the final package structure. It can define cut lines, fold lines, glue areas, bleed, safety margins, window openings, tear notches, hang holes, zipper placement, and label panels. Buyers may know their brand artwork well but still need help understanding which parts of the package are technically locked.
Use plain language in your listing on Cusket products. Say whether the dieline is standard, adjustable, or custom. If you sell folding cartons, rigid boxes, pouches, sleeves, clamshells, or inserts, name the structural parts that can change and the parts that trigger new tooling. This helps buyers understand why a small size change may affect price or lead time.
Separate artwork proof from production proof
Many buyer delays happen because sellers use the word proof for several different steps. An artwork proof checks layout, color placement, text position, barcode area, and bleed. A digital mockup shows appearance. A production proof or physical sample checks material, finish, folding, sealing, print result, and assembly. Your listing should name which proof type is included and which proof type costs extra.
In your seller product manager, add a proof section that describes the normal approval path. Buyers comparing packaging suppliers on Cusket search need to know whether they can approve from a PDF, whether a physical sample is expected, and how revisions are handled.
Use a dieline readiness table
| Readiness item | What seller should state | Why it matters |
|---|---|---|
| File format | PDF, AI, EPS, CAD, or other accepted format | Prevents artwork rework |
| Bleed and margin | Minimum bleed and safe zone | Reduces print trimming issues |
| Color mode | CMYK, spot color, or other print method note | Sets print expectations |
| Barcode area | Quiet zone and placement requirement | Helps retail buyers plan labels |
| Material | Board, film, paper, plastic, foil, or laminate | Connects design to performance |
| Proof step | Digital proof, sample proof, or press proof | Clarifies approval timing |
This table belongs in the public listing when the product is customizable. If the package is stock with only label changes, simplify the table but keep the approval steps visible.
Show the finished structure and the flat artwork logic
Packaging photos should show both the assembled package and the structural logic behind it. A buyer wants to know how the package looks on shelf, how it opens, how it protects contents, and how graphics wrap around panels. Include assembled front, back, side, top, closure, inside view, and a safe sample of the dieline if possible. You do not need to expose proprietary customer artwork; a neutral example can still teach the buyer what to prepare.
If you reuse cover or sample visuals in Cusket guides, keep the product listing more specific. Guide images can educate broadly, but listing images should answer the buyer's actual package format, size range, and customization path.
State revision limits before work starts
Packaging projects can become slow when unlimited revisions are assumed. Explain how many artwork checks, structure adjustments, or sample rounds are normally included. Do not frame this as a penalty. Frame it as a workflow: buyer submits artwork, seller checks file, seller sends proof, buyer confirms or marks changes, seller revises, buyer approves, production begins.
If you offer paid design adjustment, say what it covers. If you only manufacture from buyer-ready files, say that too. Buyers browsing Cusket categories include experienced packaging teams and first-time private label buyers. Both groups appreciate a clear workflow because it protects launch timing.
Keep approval evidence organized
Once a proof is approved, keep the final file name, approval date, material choice, dimensions, print method, and any sample comments tied to the order. If the buyer reorders, confirm whether the same approved artwork and structure should be used. Even a small change in laminate, carton board, coating, or closure can affect the final appearance.
For platform questions, buyers can use Cusket support, but the seller should own technical clarity. A disciplined dieline and proof listing reduces file confusion, speeds buyer approval, and makes your packaging offer look more production-ready.
Before publishing, do a handoff check with the person who receives buyer artwork. The listing should tell that person what files to request, what problems to flag, and when to pause before proofing. Common pause points include missing bleed, low-resolution images, unconverted fonts, unclear barcode space, or a structure that does not match the buyer's product. Naming those issues early helps buyers prepare better files and keeps your packaging team from spending time on avoidable revisions.
For complex structures, add a note about which measurement controls the quote: internal usable size, outside size, flat size, or filled-product size.